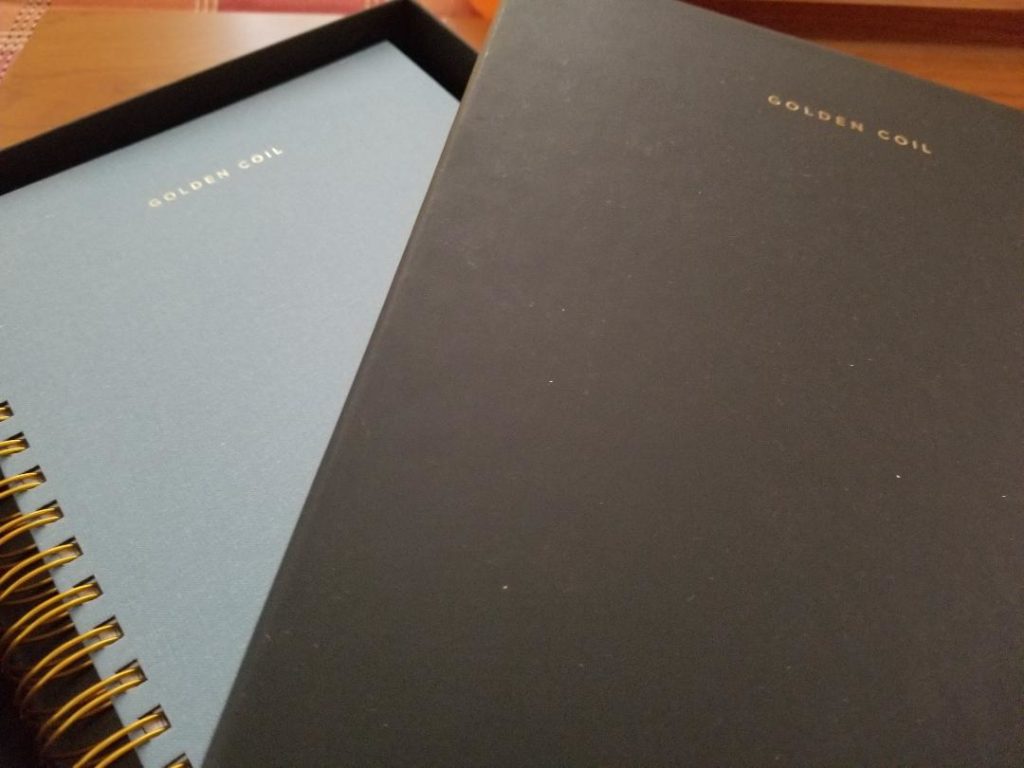
Disclosure: This is not a compensated or sponsored post. I was provided the product for review purposes only. All opinions expressed here are my own.
I love technology and I do keep track of all my appointments and events on my phone, but I still love paper planners. I remember things better when I write them down. I am always looking for the right planner that would fit all my life stuff. I like to have everything in one place. Family schedules, bill payments, plans for the blog, appointments, and events.
I always just buy a planner and go with it for the year, Yet, I always wanted to customize my own planner but it overwhelmed me. That was until I was introduced to Golden Coil. It is a very simple process to design your own planner. I was able to find pieces to create a place for all my planner must-haves.
Golden Coil has an 8 step process to create a 242-page or less planner. Once you have made all your choices you are able to review your designs. If you want a daily planner or weekly with an additional pages then you will have to split your year and create a 6-month planner. I created a 242-page weekly planner that runs for 7 months.
The Customization Steps:
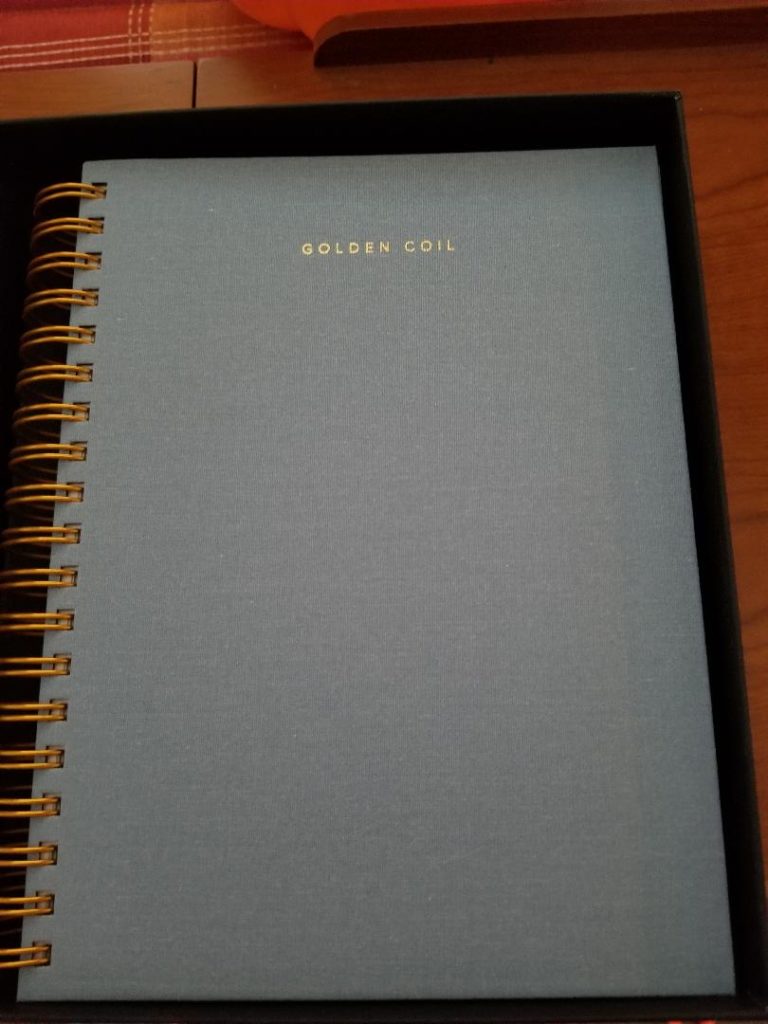
Step 1: Cover. Choose your cover color and type. When I purchased mine you could pick between linen or leather cover styles in multiple colors.
Step 2: The Front Page. This is where you put your personal information or an inspiration quote.
Step 3: Contacts. This is the section you can put your contacts. You also have the option to upload contacts so they are pre-printed in your planner.
Step 4: Dates. You choose your start and end dates for your planner.
Step 5: Events. You can upload your own events and/or choose from pre-set holidays. However, if you look at the top of the box you can click presets rather than upload. If you don’t want anything pre-printed you can skip this step. the step like I did!
Step 6: Layouts. Here is where you pick your weekly or daily layout. Pick between a double-page weekly, a single page weekly, or a daily layout. There are multiple options for each type so you can pick the one that is just right for your planning style. They are tons of choices.
Step 7: Pages. This is where you can pick from all the wonderful extra pages. There are tons of options under the headings of Calendaring, Lifestyle, Health, Projects, and Standard. They have pages for meal planning, fitness tracking, social media, reflection pages, project planning and so much more. You can choose to add pages to the front of the planner, back of the planner, weekly or monthly. back of the planner, weekly, or monthly.
Step 8: Add ons. You can add quotes to your weekly or daily layout. There are multiple options.
At Golden Coil, the customers choose every page included in their planners. If they are going back to school, they can add a layout that suits their schedule and add pages for tracking homework, keeping notes, and managing various meetings or appointments. If you are a teacher you can add lesson planning pages, a layout with time-blocks, spreadsheets for class lists, and more. Regardless of what school looks like for someone this year, we have the pages that will help you organize and have a successful year.
They personally believe that we are one of the most customizable planners in the world. Not only can a customer choose their cover and every interior page, but also they can import contacts and events to be printed inside their pages, choose a Sunday or Monday start, and add quotes. We know that each one of us is completely unique, and they believe that their planners should be too. They enjoy giving people the ability to create something that aligns with their lifestyle and improves their day.


Leave a Reply