Disclosure: This is not a compensated or sponsored post. I was provided the product for review purposes only. All opinions expressed here are my own.
The holidays are upon us and it is a great ideal to get ahead of the game and create some fun handmade labels to use on all your holiday gifts that you plan on gifting this holiday season. In case you want to get a head start on your holiday season I wanted to share how I created my labels using my favorite Avery labels and tags.
The online center is so simple and not at all intimidating to use. They really make it easy for you to be as creative as you want to be by offering pre-designed templates you can manipulate or blank templates where you can design from scratch. So every time you use it, you will get the most professional results making your project look perfect every time.
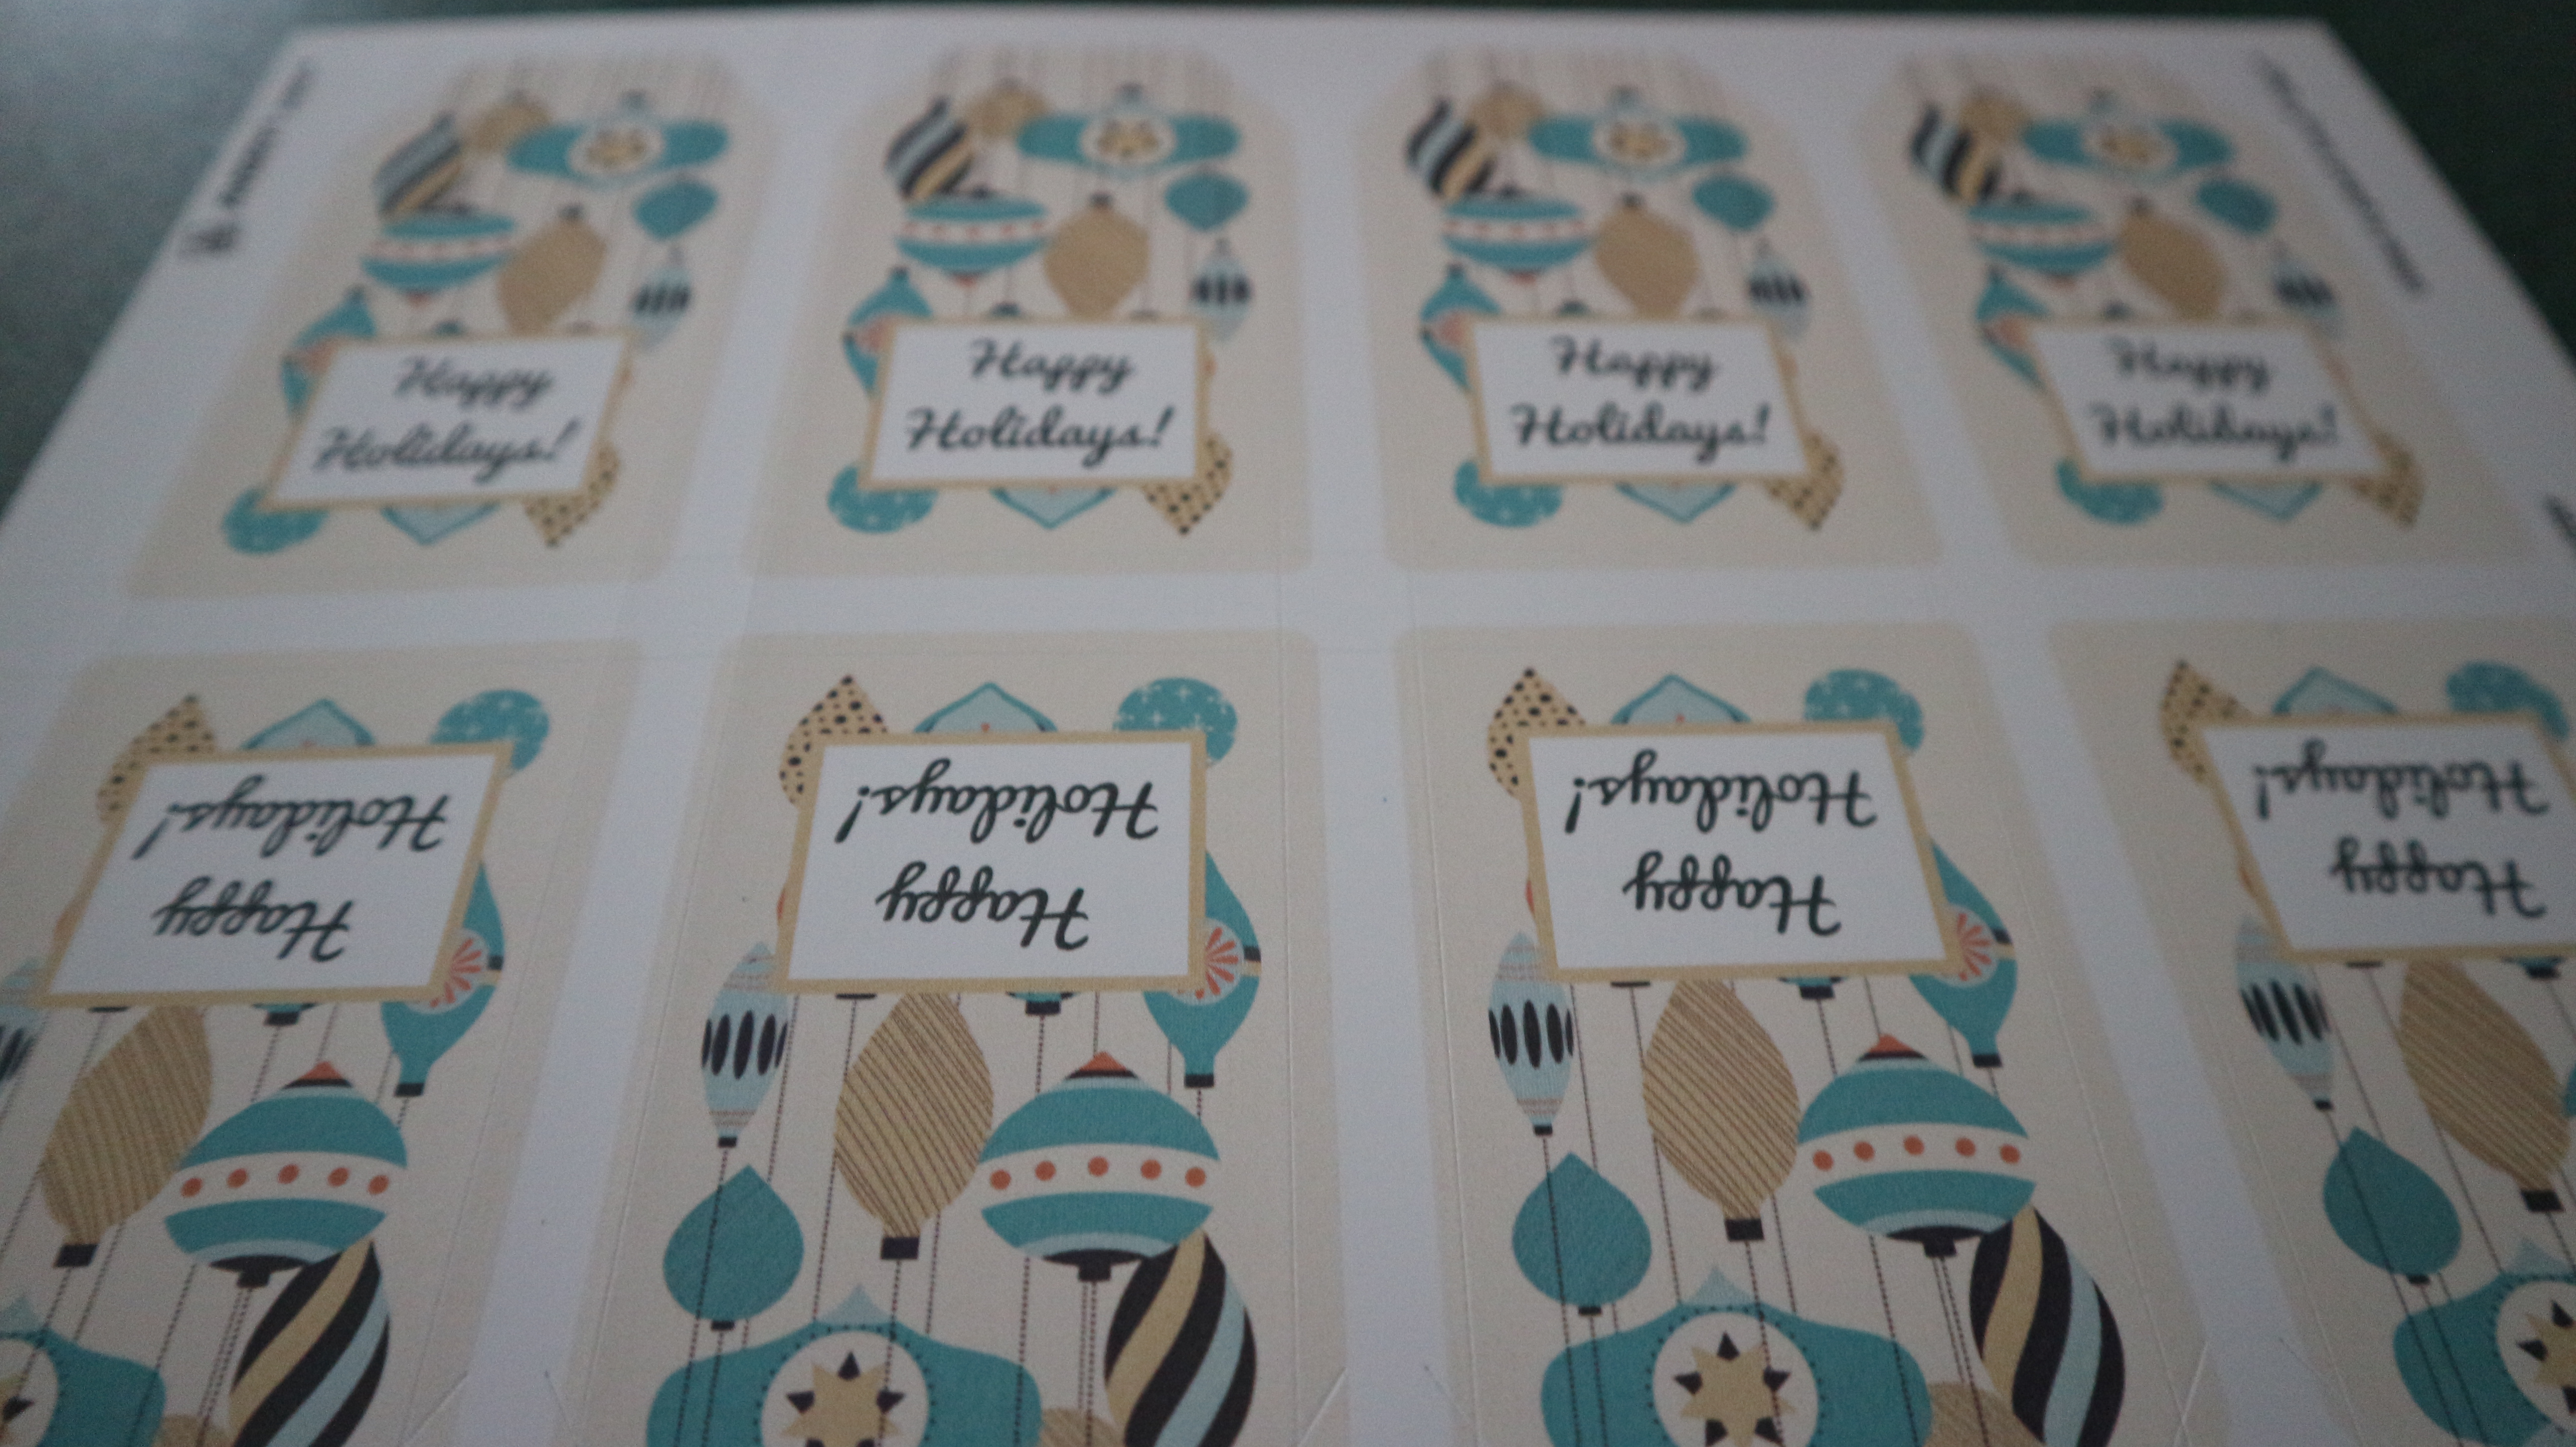
I want to show you how I made my holiday tags. I am using Avery labels #22802 . These are Printable Tags with Strings for my project.
The first thing you want to do is head to the Avery website. Once you are in the design center you will type in the number of the product you will be using in the search bar in the middle of the screen. This will pull up a screen with all of your design options.
If you are pulling up an image your pre-designed like I did, click the image button to upload your image you want to design . You can add text, shapes, numbers and much more. You can also cut, copy and paste as well as zoom in and out of your design.
Once I uploaded my image, I made it fit the label and then clicked Preview & Print at the upper side of the screen. From there you can print your project as well as adjust your printer if your labels print slightly off. I usually print on a blank piece of paper first.
So now you are ready to print your holiday tags. Have fun.
Leave a Reply