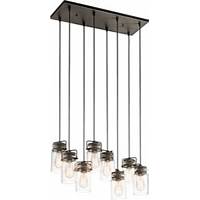
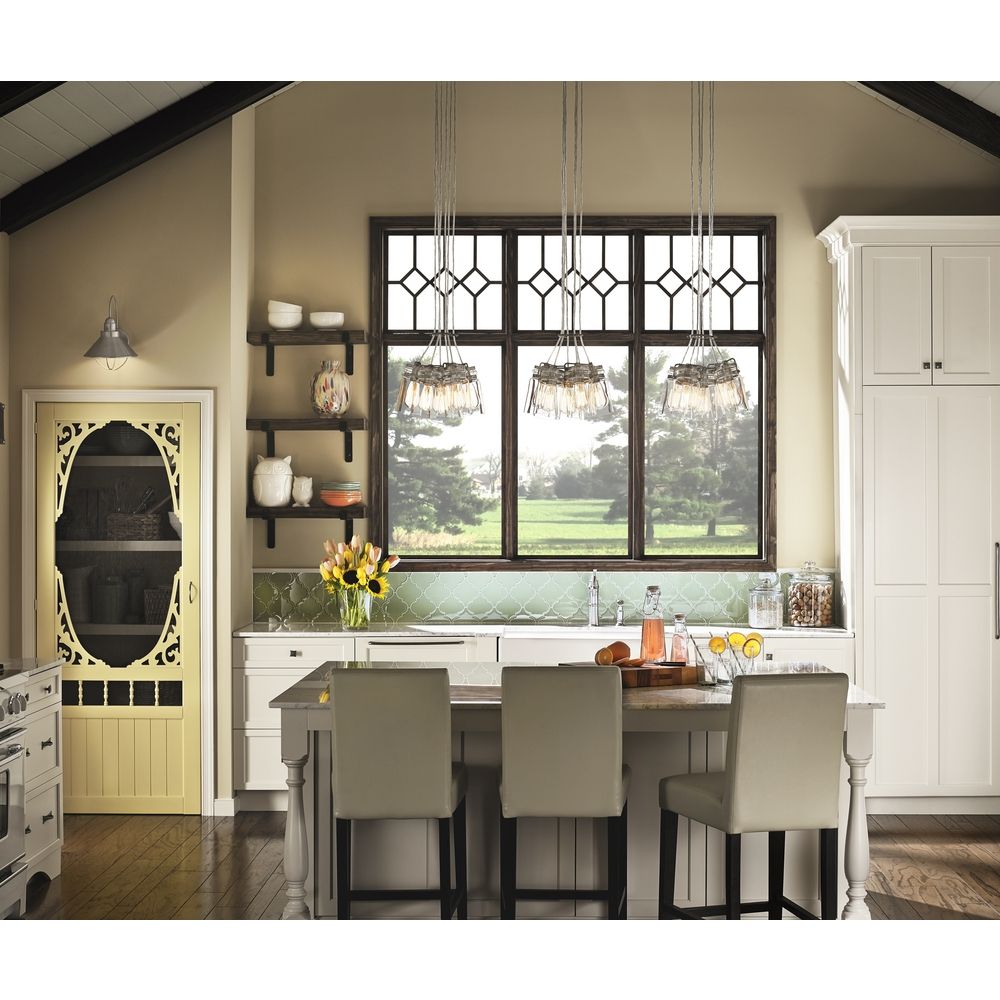
We wanted to add extra lighting our kitchen without breaking the bank. We came up with the great idea of installing a chandelier. I got to try their new Brinley Chandelier and you are going to love it.
Before I started the process. I want to share
Here are few tips that I learned about chandeliers:
- Lighting has a dual purpose.
- One is to be aesthetic the other is the purpose of providing adequate lighting.
- If you need to visit a lighting showroom to save time on picking the right chandelier for your home and consider bringing pictures of the room from different angles for inspiration.
- The lightning showroom rep will also help you decide if you need a chandelier or a pendant based on your pictures.
Make sure to measure the size of the room; this way you can make sure that the room will get adequate lighting. This is going to shock you, but there is a formula for you to use to help determine what type of chandelier you need for a room.
- The bottom of the chandelier should hang about 30 inches above the table in a dining room and 66 inches from the floor.
- When planning, you need to ask yourself do you want multiple layers of light in the room.
- Chandeliers are a fixture, so make sure that you shut off the fuse box and don’t install anything that will exceed your amps for the line or you blow your fuse.
I have installed a chandelier before, so I was truly excited when to try this new chandeliers. I knew it was a great opportunity to put together a tutorial for you so you could see how it is done.
When I first received the package the first thing I saw was how extremely well packed it was.
Lighting is one of the key elements in any well-designed space. How we light a space relates directly to how we see it, so time spent deciding on how to put a light in a room and where to place it is never time wasted. But lighting is more than a functional requirement of a space. It can also be a strong design element all on its own. Overhead pendant lights, stylish table lamps, and large standing lights ae just a few of the options.
The right lighting can be the perfect finishing touch for the style you want in any space, from rustic to mid-century to ultra-modern. But for a chic and timeless look, you can’t beat classics like the chandelier.
Chandeliers are a great addition to just about any room. Not only do they provide excellent light from the best possible place, but as a design element, they can steal the show or just add another layer to a beautifully designed space. Still, as great as chandeliers are, they can present a few challenges. Knowing what size is best and how high to hang them can be tricky. But all it takes is a few simple tips to make finding the right chandelier easy. Check out these chandelier do’s and don’ts for all the info you need to know about decorating with these gorgeous light fixtures.
Make sure your chandelier is the right size. A good rule of thumb is to add the dimensions of the room together in feet and then convert the answer to inches .The answer in inches should equal the diameter of the fixture. So, if your room measures 10′ x 15′ the diameter of the fixture should be about 25″. I told you there was a formula. Take the size of the table into account. The diameter of a dining room fixture should be about one-half to two-thirds the width of the table or about a foot less than the width of the table at its widest point. (In many cases these measurements will be the same). Go bigger rather smaller in a dining room. If the fixture seems too large hang it a bit closer to the ceiling so it doesn’t feel so overwhelming. Really it shouldn’t be closer than 48 inches to any piece of furniture such as a cabinet or sideboard. This isn’t always possible in small spaces but it’s a good rule to keep in mind.
Hang a dining room chandelier between 30″ and 36″ from the tabletop. It’s best to hang chandeliers low enough so they light up the desired area, but not so low that anyone will hit their head. Do not hang overly ornate chandeliers too close to the table. Since heavy-looking fixtures take up a lot of visual space it’s okay to break the rules and hang them a few inches higher than the normal standard.
Use chandeliers in a variety of rooms. They look great in bedrooms, kitchens, bathrooms and even home offices. Please don’t be afraid to experiment with styles. A modern chandelier can look great in a room full of antiques, and a vintage piece can look great in a contemporary room.
Install dimmer switches on every chandelier in your home. They create ambiance and offer more flattering light.
Here are the steps to installing a chandelier.
- Always turn off the electricity to the circuit you’re working on at the main electrical panel. Never attempt to work on live wires.
- Go to your house’s main electrical panel and turn off the circuit breaker that controls the room where you’ll be working. Flip the light switch in the room on and then off again to confirm that the power is off.
- Next, unscrew and lower the old fixture’s canopy (the decorative, bowl-shaped disk against the ceiling) to access the electrical box.
- Carefully remove the twist-on connectors from the wiring.
- Check again to be sure there is no current by connecting the two leads with a simple electrical tester.
- If the tester’s light doesn’t come on, detach all the wiring to free the fixture.
- Hand the old fixture to a helper; don’t attempt to climb down the ladder with it in your hands.
- Remove the screws that hold the electrical box to its metal hanger bar. If there are no screws, the box is probably nailed to a joist. Use a flat bar to pry the box free. If it’s a metal box, loosen the screws on the cable connector, then slide out the cable. For a plastic box, use a slotted screwdriver to pry up the flexible fin that pinches down on the cable, then pull the cable free.If the box was attached to a metal hanger bar, cut the bar in half using a close-quarter hacksaw.Remove the pieces of the bar and discard them.
- Take the fan brace from its box and spin the hexagonal bar to reduce the brace to its shortest length.
- Next, slip the brace up through the hole and set it on top of the ceiling. Be sure that both of its feet are resting flat on top of the drywall or plaster.
- Rotate the hexagonal brace by hand until you feel its sharp prongs dig into the joists. Take the fan brace from its box and spin the hexagonal bar to reduce the brace to its shortest length.
- Next, slip the brace up through the hole and set it on top of the ceiling. Be sure that both of its feet are resting flat on top of the drywall or plaster. Rotate the hexagonal brace by hand until you feel its sharp prongs dig into the joists.
- When you can’t hand-tighten the brace anymore, use an adjustable wrench for another few turns to fully embed the prongs in the joists. Don’t overtighten the fan brace; the tension it puts on the joists can cause nail pops in the drywall below.
- Use a slotted screwdriver to pry one of the pre-punched knockout plugs from the side of the metal electrical box that comes with the fan brace. If you’re using a box that doesn’t have an integral cable connector, fasten an NM (nonmetallic) connector to the knockout hole.
- Hold the box close to the ceiling and feed the end of the cable through the cable connector.
- Pull about 6 inches of cable into the box, then tighten the connector screws to lock the cable in place. Be sure the connector pinches down on the cable’s exterior sheathing, not onto the individual wires. Never put cable into a metal box that doesn’t have a cable connector. The sharp edge of the knockout hole can slice into the wires and short them out.
- Locate the U-bolt, metal support flange, and hex nuts that come with the fan brace.Slip the U-bolt over the fan brace, then slide the support flange onto the threaded ends of the bolt. Thread a nut onto each side of the U-bolt and tighten each to lock it in position.
- Next, align the two holes in the top of the electrical box with the threaded ends of the bolt. Push the box up into the ceiling and secure it to the U-bolt with two hex nuts; tighten them with a nut driver.
- Remove any shades from the chandelier before installing it.
- Shorten the wires and remove chain links so the chandelier will hang at the right height.
- Thread the nipple first into the chandelier’s chain holder, then into the fixture-mounting bar. Feed the chandelier wires through the nipple.
- Lift the fixture and screw the mounting bar to the electrical box.
- Wrap the cable’s copper ground wire around the grounding screw, tighten it, then connect the wire’s end to the chandelier’s ground wire.
- Next, strip ½ inch of insulation off the chandelier’s wiring.
- Use a twist-on connector to join the chandelier’s white wire to the cable’s white wire. Do the same with the chandelier’s and the cable’s black wires.
- Carefully fold and tuck the wires up into the electrical box.
- Slide the chandelier’s canopy up the chain and press it tight against the ceiling, making sure the wires aren’t poking out from the canopy.
- Push the retaining collar up to the chain and thread it onto the chain holder.
- Hand-tighten the collar to hold the canopy tight against the ceiling.
- Install the lightbulbs and glass shades, then restore the power to the room.
Now it is time to enjoy the beauty of the chandelier. I love how the chandelier gives the room a finished look and a touch of elegance. Excuse me while I prepare dinner for our guests and show off my new lighting. This is a great value for any home. It is also not very expensive just remember to take pictures of your room.
Do you love the look of the Brinley Chandelier as much as I do?

