Disclosure: This is not a compensated or sponsored post. I was provided the product for review purposes only. All opinions expressed here are my own.
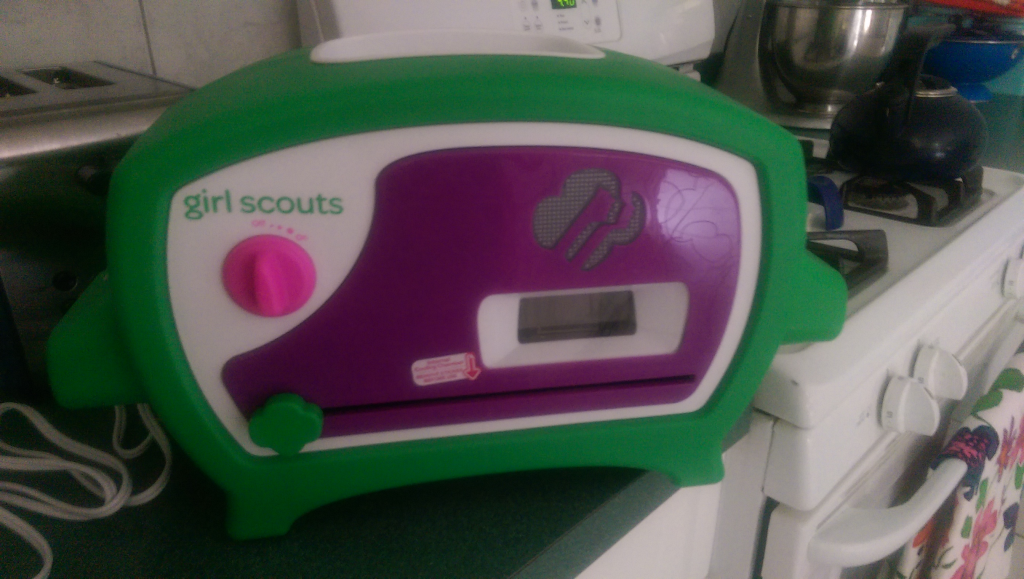
During the holidays, the Girl Scouts Cookie Oven was a top seller, but just the holidays are over doesn’t mean the fun has to stop. this is a great addition for summer fun and a way to keep your kids occupied while out of school. As your children can get involved in making desserts for those family parties this summer. It is a toy, designed for kids with well-fueled imaginations.
It’s a tiny oven designed to work with a collection of Girl Scouts approved cookie mixes. We got to try out the Thin Mints. It is improved and safe there’s no risk of the kids getting burned. The oven features the highly recognizable bright shade of green you will find on the Girl Scouts official uniforms and their cookie boxes.
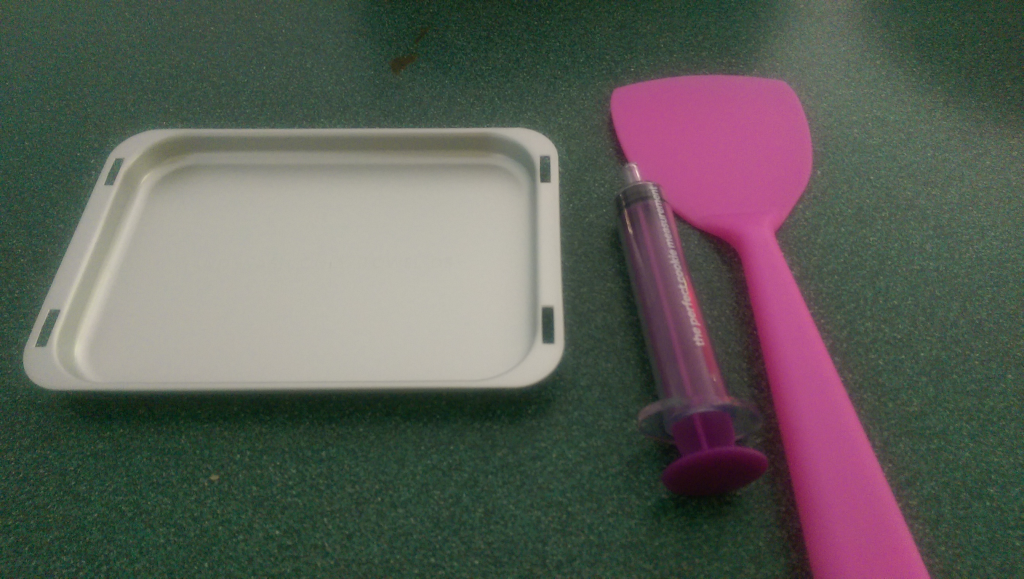
As soon as it came, we were ready to give it a try. The process is not unlike baking cookies destined for a real oven. The first thing we did was unpack the oven and find a perfect spot for it in the kitchen. we took out the measuring syringe, pan and spatula and washed them thoroughly. Then we set aside a solid morning for us to play and have some fun.
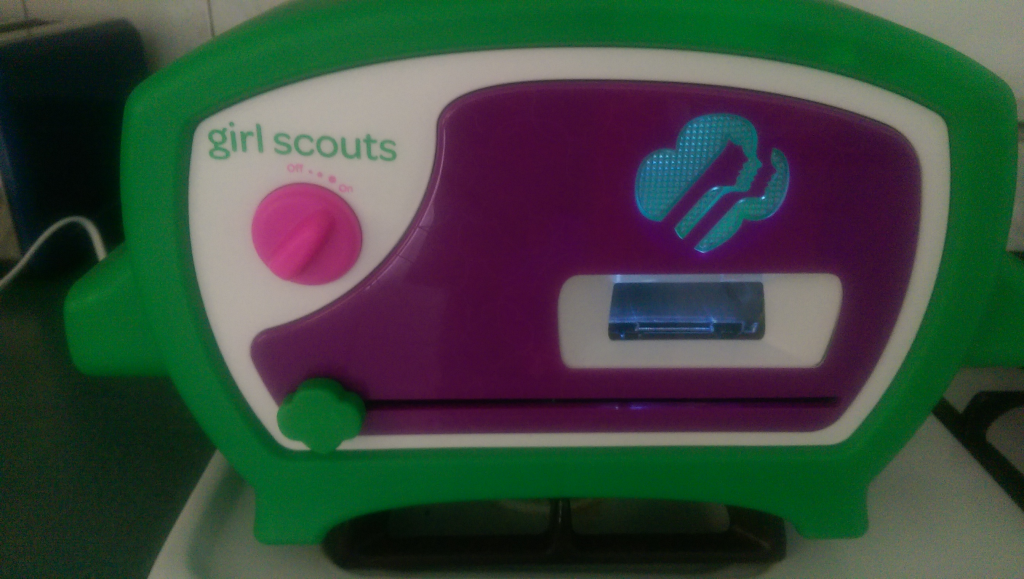
The actually baking process differs slightly depending on the type of Girl Scouts cookies you are making, but follow along as we tired out hand at a batch of classic Thin Mints. The first step is you simply turn on the oven using the plastic dial on the front, as it requires about five minutes to thoroughly pre-heat.
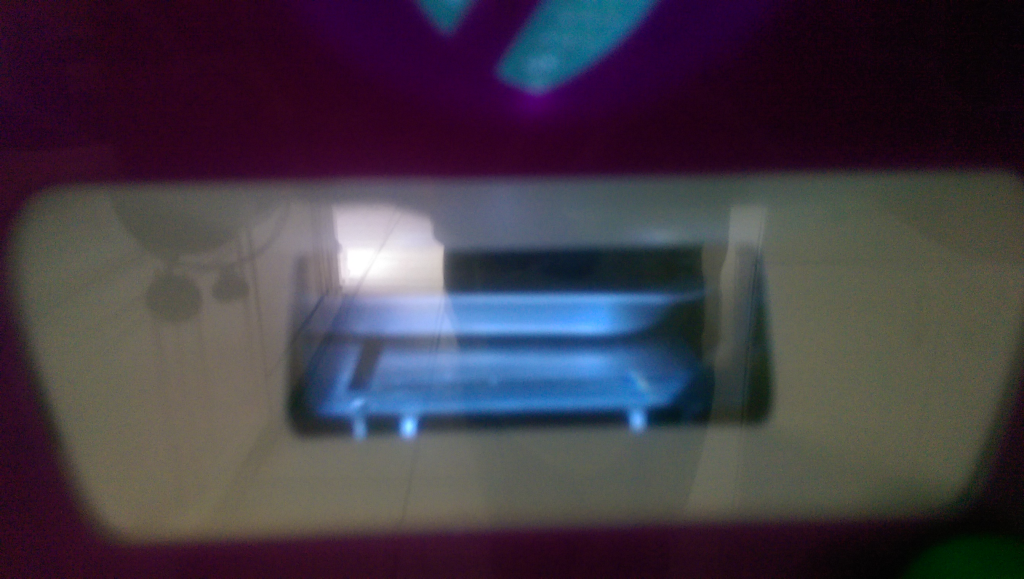
The oven’s heating element and baking area is illuminated with an LED on the inside so that your know when it is on and warm, but you also have a close up view of the treats while they bake.
While the oven is pre-heating, we started prepping the ingredients and tools. The baking pan, which feels like it was made from thick aluminum foil, was blasted with a non-cooking spray Pam. You really don’t want to skip this step. Also a reminder you need to wash this pan by hand, as it will not survive in the dishwasher.
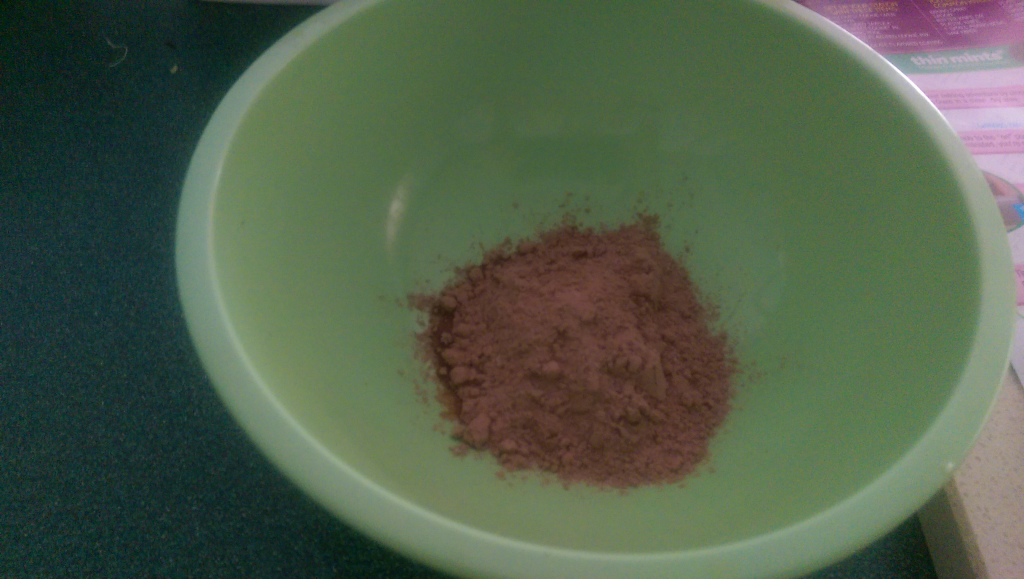
Now the ingredients, the different choices come in pre-packaged powered mixes that you simply dump into a bowl and add a bit of water. This is a crucial point so watch the kids as they like to add more water. To ensure that you are using the exact amount the oven includes a syringe instead of a measuring cup. The kids love to run around with the syringe thinking they are doctors. For the Thin Mints we needed just nine ml of water.
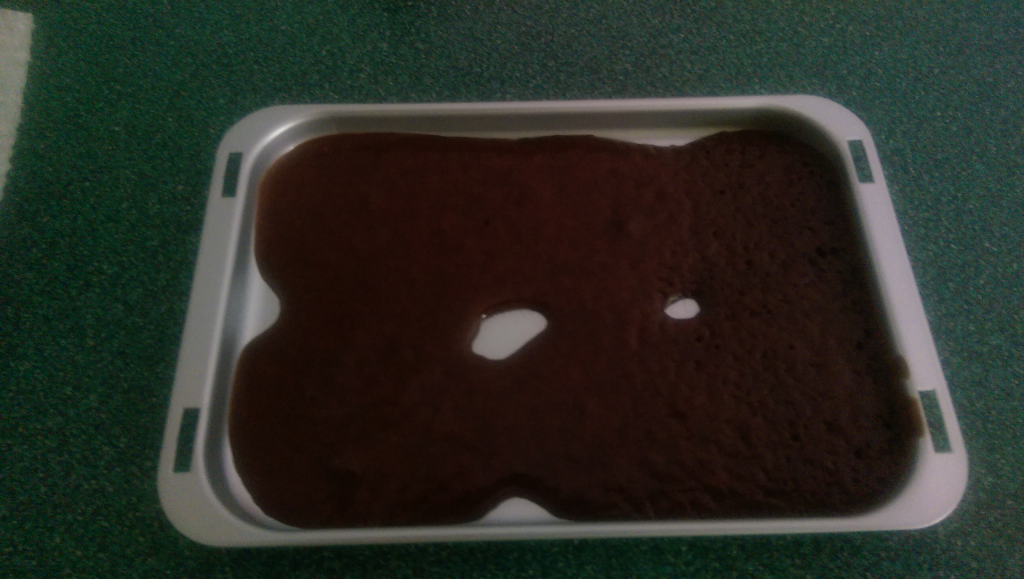
The syringe does make it easier to measure out exactly how much water is needed. Once the water and powered mix has been thoroughly combined, you’ll end up with something that looks more like brownie batter than cookie dough.
Your bowl of cookie batter is then carefully spooned out onto the baking tray you greased earlier. Prepping the cookie mix took about ten minutes, which means that by the time you’re done the oven should be properly pre-heated. It is a good idea to keep a timer handy to make sure that it’s been five minutes from when you put it in.
The next step is to slide your tiny baking tray into the open end of the oven as far as it will go in, but it will still stick out a little bit. In order to get your tray of cookies all the way into the oven’s baking chamber you will need to slide the handle mechanism all the way over to the right which moves the tray into position.
The tiny window on the front of the oven does let you peek inside to keep an eye on your treats as they bake. When the cookies are done you then slide the tray back towards the left, but not all the way out of the oven. An arrow indicates where to position the handle so that the freshly baked treats can spend ten minutes inside the oven’s cooling chamber before they are handled. So grab the timer again, and wait for another ten minutes.
Once the cookies have cooled you can then slide the try the rest of the way out of the oven, it is still warm so wear an oven mitt. Use the bright pink spatula with a gripper on the end of the handle, to remove the tray completely.
Then take the baked cookies and transfer to wax paper. The Thin Mints recipe we followed also required that we prepare a chocolate topping for the cookies. Preparing the topping required you to dump a small pouch of chocolate chips onto the metal baking tray and then placing it onto a warming station atop the oven. Once the chocolate chips are melted, you can cover your Thin Mints cookies, them cool a few more minutes then dig in.
